SEARCH THIS BLOG

Friday, October 31, 2014

{Happy Halloween} Little Miss Spider Halloween Party


Today I am sharing all the little details that went into this adorable Little Miss Spider Halloween party that I setup for my kids. This is a party that I technically couldn't attend because I had to work, so, I set it all up as soon as my kids left for school and it was a surprise for them when they got home.

I can find inspiration from just about anything, and mine came from the movie Beetljuice (of all things) and a cute little Halloween floral vase that I saw at Michael's crafts!  That gave me the inspiration to use a striped pattern pattern and the black and purple color scheme throughout the party.  I don't personally like spiders, but I thought, hey....why not?  It's so easy to find spiders and spiderweb style items during this time of the year....so, I just picked up things that I really liked.....as long as they were on sale, on clearance or I could use a coupon!

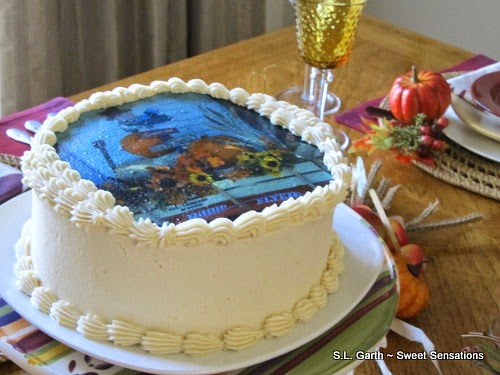
The centerpiece for most of my parties is the dessert table.  This time, I kept my desserts simple.  I knew it would just be my little household and maybe a few family members dropping by for the fun, so, nothing too fancy.  I made spiderweb cupcakes using this idea from Tikkido.  Using my Cricut Explore, I made a few spiderweb cupcake wrappers.  Also, I found black fondant in the cake decorating aisle at Michaels and made a few tiny spiders.......not my best work, but I wasn't striving for perfection - just fun! I also used this fun Marshmallow Cobweb Cake idea from The Cake Blog  and made another spider for the cake and stuck him on that baby as best I could. 


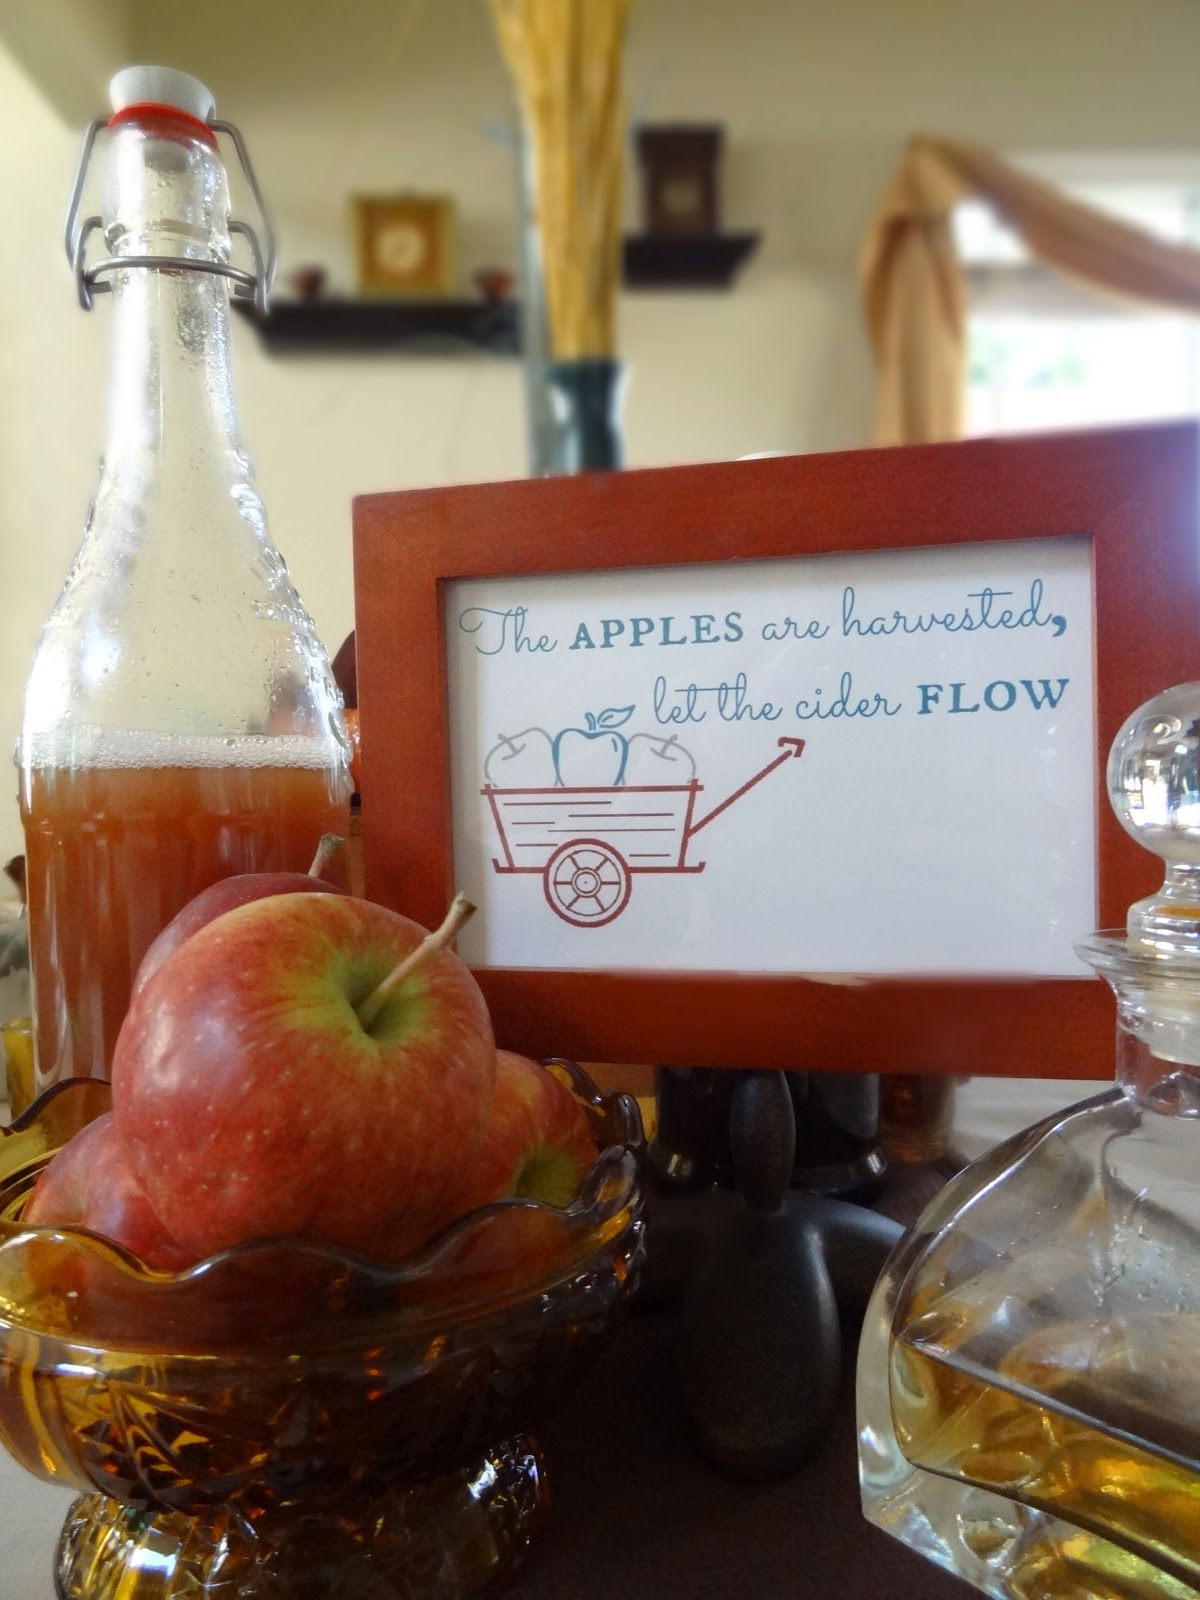
For the candy apples, I fell in love with this purple candy apple recipe from the Kitchen Macabe and dressed them up with Sparkle Sticks™ courtesy of my pal, Kylie from Made by a Princess.


I always love to do a decorated cookie and macarons for my parties, but I'm no cookie artist. So, I always order from the best baking gal I know - Fresh Bakes


Ya can't have Halloween without candy right?!!!  Well, since I knew we'd do a little trick or treating at the mall.  I decided to go light with the candy.  I just used white gumballs as 'spider eggs'  The glass jar was embellished with a lace like spider decal (these are by Martha Stewart - but were on clearance at Joanns).  I also used the decals on a white platter for my decorated cookies.  I also added green swizzle sticks to a round glass vase...mainly for color.


Most of my items were purchased at Michaels, from the Target Dollar spot and fished out of my own Halloween stash!   For the striped items, I got a few wood and glass pieces and painted them black and white. Then, I found a bunch of adorable glitter and glass bead spiders at Michaels and used them throughout the tabletops.  I also decided to forgo printables for this party and instead work with some papercrafts.  I created a banner for my backdrop, again using the Cricut Explore.


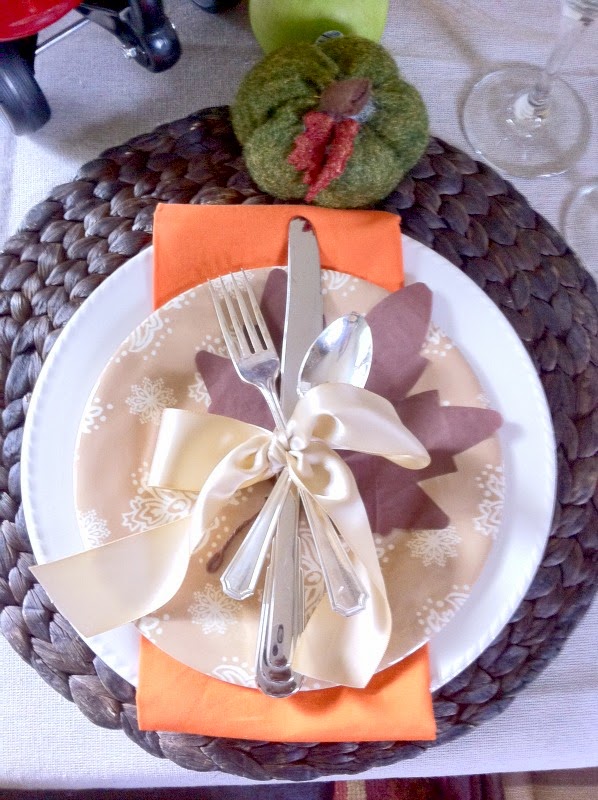
A cute table was set up just for the little ones with a very fancy but playful tablescape.  Ikea has some awesome fabric in their textiles section.  I found this black and white one and paid less than $12 for 2 yards! The fancy gold chargers were on clearance at Micheals and Each one got a little sparkly spider!  The black and white paper plates were a Target Dollar Spot find and at first I was worried if they would look right with the chargers, but I love how they worked together.  The wooden plaques serve as place cards for the the little guests.  The centerpiece was a simple felt spiderweb runner that I got on clearance at Joann along with a few glass pieces that were also dollar and discount finds at Michaels and Target.  The striped vase is one of the pieces I hand painted and I found a bunch of silk purple flowers in my Halloween stash.  Target also had the cutest little milk jar glasses.  I decorated each one with a spiderweb that I cut with my Cricut Explore and embellished each one with a glitter dot and popped a straw in them.


I also used a smaller table for the party favors, drink straws and a spiderweb bowl that I found for....you guessed it, $1 to put some popcorn in!  The Boo sign and mercury glass hurricane was another Target Dollar Spot find and the glass jars were all from Michaels.  Putting my Cricut to work, again, I made little treat boxes for the guests to go home with.  Inside each one was a pair of super cool spider web glasses, a few pieces of candy, small toys and glitter pencils.


The kids came home to all of this and it just made their day!  When I got home they were so thankful and HIGH off of sugar......made for a very long night of conversation.

I hope you enjoyed this fun and fancy spider themed idea for Halloween.

TRICK OR TREAT!!!!!


Have a safe and Happy Halloween! 


Thursday, October 30, 2014

{Sneak Peek} Little Miss Spider Party

Here is a look at the party thrown recently for my little ones. I've got loads of photos to go through - but will share all the fun on tomorrow's Halloween post!!!


Be sure to swing on by tomorrow and get more details!


Monday, October 27, 2014

{Guest Post} Halloween in a Box with Paper + Pop


It’s Andrea from Paper + Pop sharing an inexpensive way to celebrate Halloween across the miles – Halloween Fun in a Box.

I started doing this a few years ago when my kids were away at college, but it’s also a ‘sweet’ and inexpensive idea to spread a little Halloween fun with family and friends across the country.  You can go as big or small as you wish.  Sunny of Sunny by Design created the adorable gift tag and you can download it free from the link below.

Let’s get started!

Materials:
Small/Medium Sturdy gift box (ULINE)
Halloween Candy (3 to 4 varieties) (Party City, Target)
Individual Food-Safe Candy Boxes (Pick Your Plum, Etsy)
Ribbon (lots!) (Michael’s Stores)
Halloween Tumbler (Dollar Tree)
Treat Bags (The TomKat Studio)
Holiday Straws, Halloween pencils, paper shred, glow sticks, tissues (Michael’s Stores)
Decorative Tissue


In the weeks before the holiday, I scour Target’s “Dollar Aisle,” Michael’s and our local “dollar” stores searching for the perfect yet inexpensive items to include.  I prefer using items that match my color scheme, but any combination is great.   I’m a “candy girl” at heart, but you can also find items other than sweets if you prefer.  You can even theme your box (i.e., Art, Baking, Crafts, etc.), especially when you know your recipient’s favorite hobby.  One year, I put together a ‘Baking Box’ for my daughter, filled with all kinds of cupcake liners, sprinkles, Halloween dish towels, orange “Dollar Store” measuring cups, some baking mitts and cookie cutters.  It was her favorite one and she reuses the items every year.


Fill your box with tissue and colorful paper shred.  Remove the candy from its original packaging and arrange in individual boxes (clear or solid) and decorate with ribbon and tags as you would a gift box.  It’s also fun when you’re sending to a family and you know each recipient’s favor sweets to individually tag.


Once the box is assembled, I secure with brown shipping paper, create a label and ship.  It’s such a great and inexpensive way to spread a little Halloween cheer across the miles.

Thank you, Keisha for having me and enjoy making memories this Halloween!

Download the printable tags here


Thursday, October 23, 2014

{Entertaining Ideas} Fall Tablescape Challenge


I have teamed up with some fellow party gals to share with all our readers different ways to set the scene for your fall holiday tables! We've gotten together, for a fun challenge to see what we can do with a mish-mash of items and a $25 budget to create a lovely fall tablescape.


Here were the rules:

Design a fall themed tablescape for $25 or less AND incorporate these items into your design:

1. Red Wagon
2. A pumpkin
3. Wheat Stalks
4. Apples
5 A wooden sign


So a group of talented party friends and I are sharing each of our tablescapes on our blogs.  You can read how each one completed the challenge by clicking on the link above each photo - Enjoy!  We also have a linky party at the end of the post where you can share your fall home decor ideas, tablescapes and recipes.


 Loving all the wonderful fall elements that Renee from Astonishing Cakes used to create a harvest inspired table.


Totally crushing on the Chevron burlap that Jessica from Everyday Party Magazine used as a focal point for her tablescape.


I've been a fan of Dawn, from Not Just a Mommy for years!  See how she created a charming rustic fall table.


I love all the sparkly fall elements in the table design created by Shannon of Painting Paris Pink.


I always adore how create and talented Ms. Sandra Garth of The Sweet Senstations is.  Look at how she completed her challenge and a VERY smart way!


....and here's how I created my tablescape using items from home and a few purchased pieces.


Items purchased for the table
$1 decorative leaves (Target)
$2 burlap daisies -2 each  (Target)
$3 Satin Ribbon (Michaels)
$5.70 Small Pumpkins (Giant)
$4 Felt Pumkins -4 each (Target)
$5.99 Wheat stalks (Michaels)

Total Spent: $21.69

So everything else was borrowed from my home or already part of my party stash (the wooden sign, woven placemats and melamine plates.  The apples, well, I forgot about them as part of the challenge, luckily, we had some in the fridge :).....I would prefer red ones for this table, but I think the green brightened it up a bit.  The red wagon was an almost forgotten find that I had for a baby shower thrown a few years back and never used - SCORE!  While most of the table looks elegant, the wagon filled with harvest fruits and veggies is really playful and fun! 

I hope you enjoyed seeing how we created a beautiful fall tablescape with just a few dollars. Be sure to check out all the other challenges 1. Astonishing Cakes   2.  Everyday Party Magazine    3.  Not Just a Mommy    4. Painting Paris Pink    5.The Sweet Senstations

......and make sure you link up your fall ideas below in the linky party!


Related Posts

Related Posts with Thumbnails